
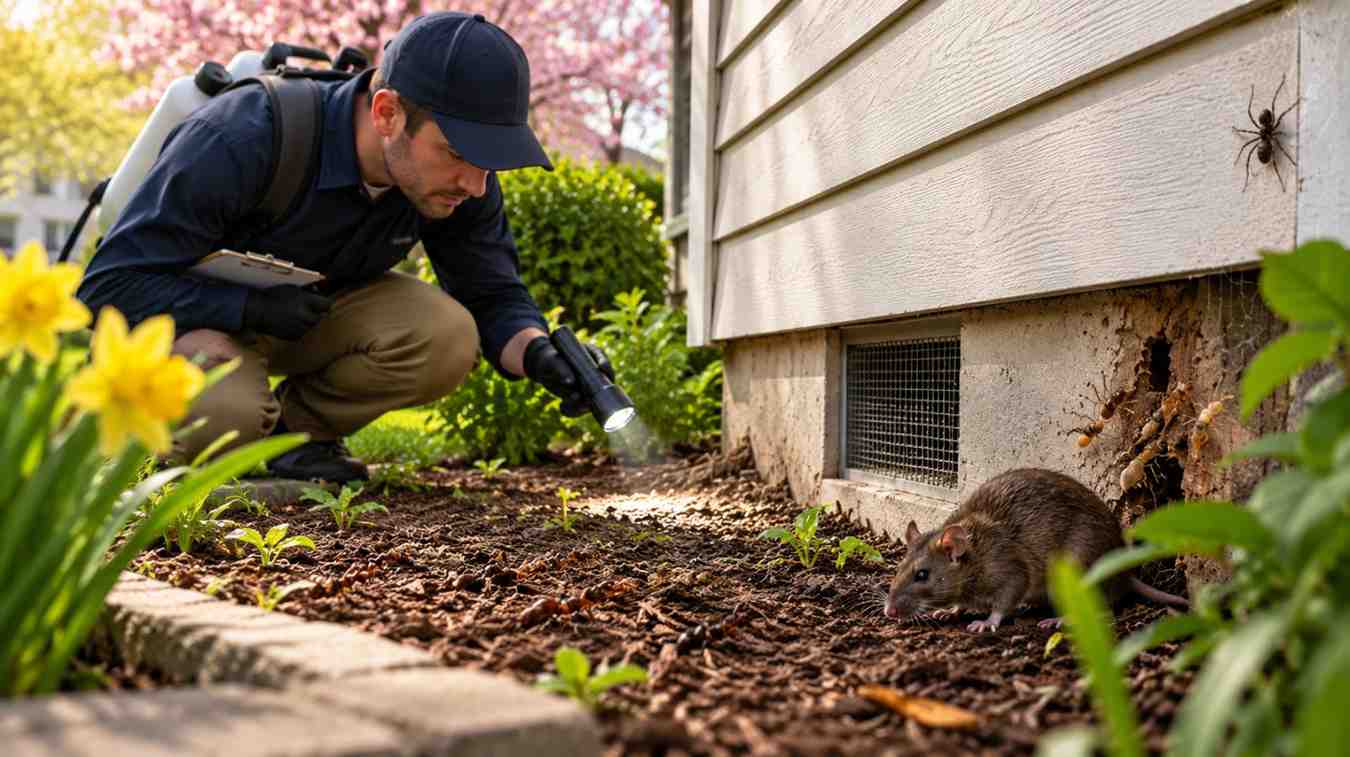
Every spring, the same thing happens: soil temperatures climb past 50°F, overwintering insects come out of diapause, and homeowners start noticing ants on the counter or wasps around the eaves — usually a few weeks after those pests have already moved back in. The inspection window that actually matters is the one before that first sighting, while pests are still emerging and colonies are small enough to stop cheaply.
This checklist walks through the 12 areas worth inspecting each spring, in the order pest control technicians typically check them, along with what a problem looks like at each stage and what it means if you find one.
Why Spring Inspections Matter More Than Summer Treatments
Most common household pests: ants, termites, wasps, and rodents spend winter in a dormant or low-activity state, either outdoors in soil and wood, or indoors in wall voids and insulation. As temperatures rise, they resume foraging and reproducing. A colony caught in March, before it has expanded, is far easier and cheaper to deal with than the same colony discovered in July at full strength. This is the reasoning pest management professionals use when they schedule spring as the primary inspection season, rather than waiting for a visible problem.
The 12-Point Spring Pest Checklist
1. Exterior Foundation and Siding
Walk the full perimeter of the house and look for:
- Gaps or cracks in the foundation wider than 1/16 inch (a common entry point for ants and small rodents)
- Mud tubes running up the foundation — a sign of subterranean termite activity
- Wood siding in direct contact with soil, which invites termites and carpenter ants
2. Roofline and Eaves
Look up along the roof edge for:
- Early-stage wasp or hornet nests, which are small and easiest to remove in spring before they grow
- Gaps where the roofline meets the wall (common rodent and bat entry points)
- Damaged or missing soffit vents
3. Windows and Doors
Check every window and exterior door for:
- Torn or gapped weatherstripping
- Screens with holes larger than a pinhole
- Door sweeps that don’t fully seal against the threshold
4. Basement, Crawl Space, and Foundation Vents
This is one of the highest-yield areas for a spring pest inspection, since it stays cool and damp long after the rest of the house has dried out:
- Check for standing water or high humidity, which attracts termites, silverfish, and cockroaches
- Inspect exposed wood beams for soft spots, hollow sound when tapped, or visible tunneling
- Confirm crawl space vents are unobstructed and screened
5. Attic Insulation
Rodents and some insects overwinter in attic insulation because it’s warm and undisturbed. Look for:
- Compressed or displaced insulation (a sign of nesting)
- Droppings near the access hatch or along joists
- Gaps around vent pipes and exhaust fans
6. Kitchen and Pantry
Spring is when pantry pests like Indian meal moths and weevils become active again:
- Check dry goods (flour, rice, cereal) for small holes in packaging or webbing
- Wipe down cabinet interiors and check corners for droppings
- Seal dry goods in airtight containers rather than original packaging
7. Bathrooms and Areas With Plumbing
- Check under sinks for slow leaks, which create the moisture drain flies and cockroaches need
- Inspect grout and caulking around tubs for gaps
- Run water in rarely used drains to keep the P-trap sealed against drain flies
8. Gutters and Downspouts
Clogged gutters hold standing water, which is a mosquito breeding site within days:
- Clear all debris left over from fall and winter
- Confirm downspouts direct water at least 3 feet from the foundation
- Check for sagging sections that pool water
9. Yard Debris and Woodpiles
- Move firewood at least 20 feet from the house and off the ground
- Clear leaf litter and mulch piles away from the foundation — both are prime overwintering sites for ants and ticks
- Trim back shrubs and tree limbs touching the house, which double as pest highways
10. Standing Water Sources
Beyond gutters, check for:
- Clogged drainage near AC units
- Birdbaths or plant saucers that aren’t emptied weekly
- Low spots in the yard that pool after rain
11. Garage
- Check weatherstripping along the garage door bottom
- Inspect stored cardboard boxes, which rodents and roaches use as nesting material
- Look for chew marks on stored items or wiring
12. Interior Wall Voids (Signs Only)
You can’t inspect inside walls without opening them, but you can look for signs of activity:
- Faint rustling sounds, especially at night
- Small piles of frass (wood-boring insect droppings) near baseboards
- Unexplained musty odor in one area of a room
What to Do If You Find a Problem
- Minor entry points (gaps, cracks, torn screens): These are DIY-fixable with caulk, expanding foam, or new weatherstripping, typically in under a weekend.
- Active nests, mud tubes, or wood damage: These generally call for a licensed pest control professional, since misidentifying termite versus carpenter ant damage — or treating incorrectly — can let the problem continue undetected.
- Uncertain findings: When in doubt, a licensed inspector can confirm what you’re looking at for a modest fee, which is far cheaper than guessing wrong.
Frequently Asked Questions
When exactly should I do a spring pest inspection?
As soon as overnight temperatures consistently stay above freezing, generally late March to April in most of the U.S. — before the ground fully warms and colonies expand.
Can I do this checklist myself, or do I need a professional?
The exterior and interior visual checks above are designed for homeowners. A professional is worth calling if you find mud tubes, structural wood damage, or an active nest, since those typically require treatment beyond sealing and cleaning.
How long does a spring pest inspection take?
Working through this checklist thoroughly takes most homeowners 60–90 minutes for an average single-family home.